As a website owner, you should exclude your own IP addresses from Google Analytics to keep the data clean and accurate. When you’re working on your website such as testing pages or fixing bugs, Google Analytics will record your activity just like an actual visitor. This can mess up your statistics. By excluding your own IP addresses, you ensure the data reflects only real user behavior.
There are several steps to excluding IP addresses from Google Analytics:
- Collect the IP addresses that represent internal traffic
- Configure Analytics to tag events from those IP addresses as internal
- Configure a filter that discards events tagged as internal.
- Test to confirm everything is working correctly
How to get your IP address
Currently, your IP address is 3.211.181.86. If you are collecting IP addresses from your team, you can send them to the following page to easily display and copy their IP address.
Instructions
- Sign into Google Analytics
The direct link is https://analytics.google.com/.
- Click Admin in the side menu
- Click Data Streams under Data collection and modification
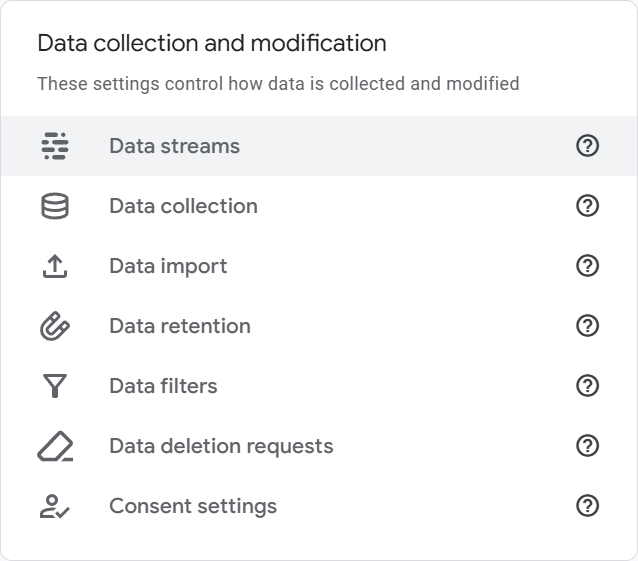
- Select the data stream for your website
- Click Configure tag settings
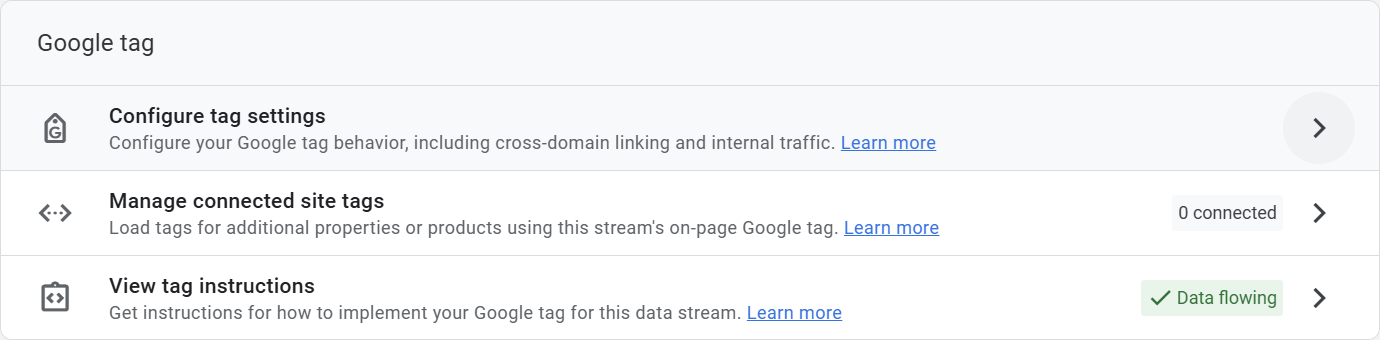
- Scroll to the bottom and click Show more to expand the page
- Click Define internal traffic

- If you previously created a rule, select it. Otherwise click Create
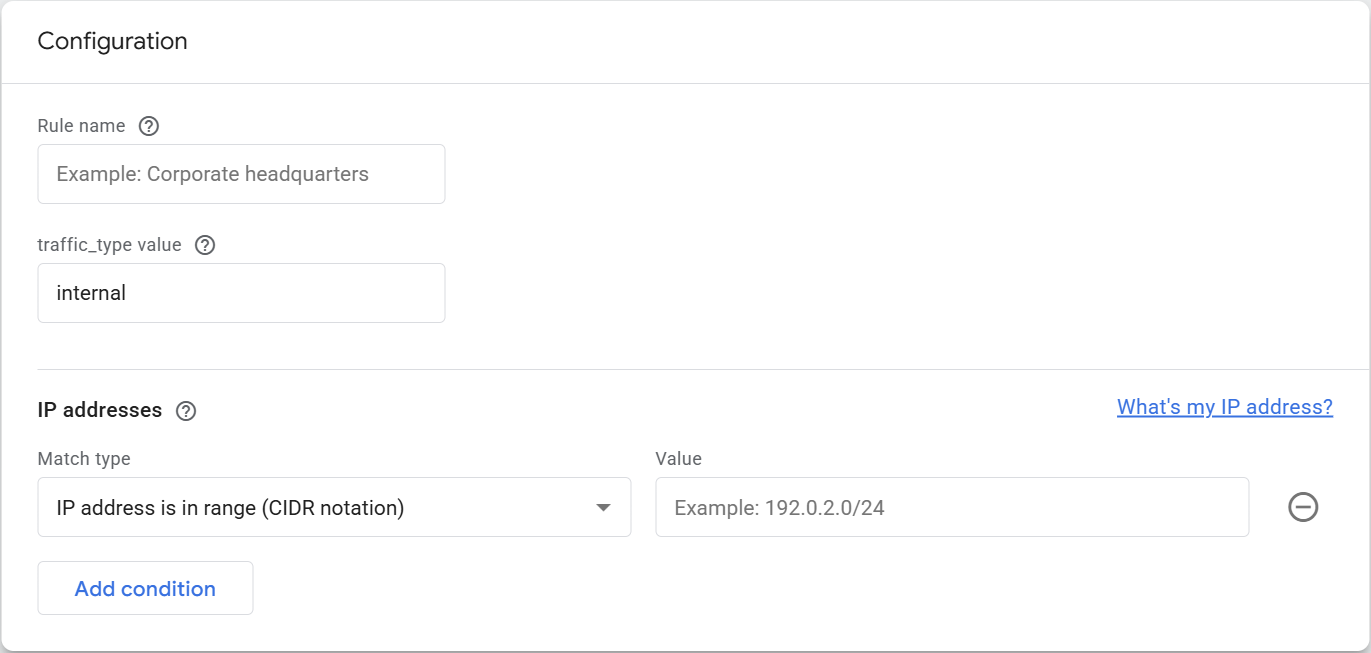
- Set the rule name (when creating a new rule)
If you are creating a new rule, you must assign a name such as “Internal Traffic”. This name is for you – select a name that will help you remember its purpose. You can rename the rule later.
- Use the default traffic_type of internal unless you want to define multiple internal traffic rules and distinguish between them
You can define multiple rules to distinguish between different types of internal traffic. For example, you can define a rule for home traffic and another rule for office traffic. If you need to treat the traffic differently in some way, then give each rule a different traffic_type value. Otherwise use the default of internal.
- Specify the IP address(es) to exclude
You can specify one or more conditions, where each condition is an expression such as IP address equals. If you add multiple conditions, they are evaluated as “OR”, meaning a match occurs if any of the conditions evaluate are true.
If you are filtering one or two IP addresses, you can select IP address equals to enter the specific IP address to filter. If you have a lot of IP addresses to filter, other options are usually more efficient. - Click Create (or Save) in the upper-right corner
By completing this step, you have created a rule that tags your traffic as internal. This alone does not cause the data to be filtered. You need to return to the admin screen and enable a filter to handle the tagged internal traffic.
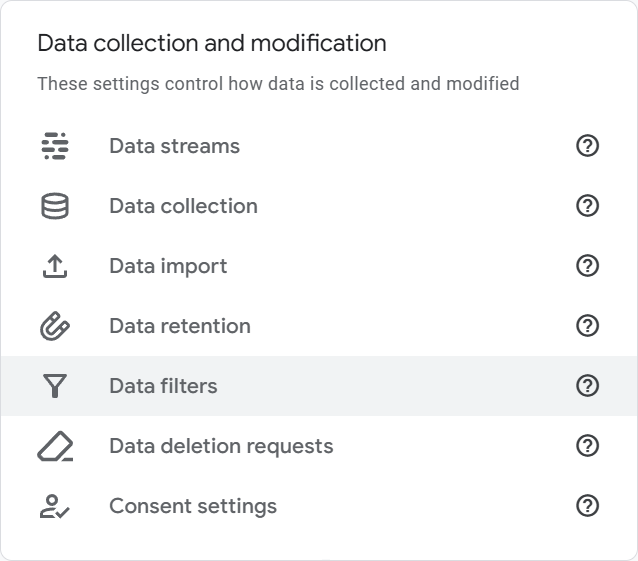
- Go back to the main Admin screen
- Click Data filters under Data collection and modification
- Click Create to create a new filter
If you already have a filter for internal traffic, you can click it to change it.
- Select Internal Traffic for the filter type

- Give the filter a name, e.g., Internal Traffic
- Select Exclude for the filter operation
- Set the traffic_type parameter to “internal” or whatever value you tagged internal traffic in step 10 above
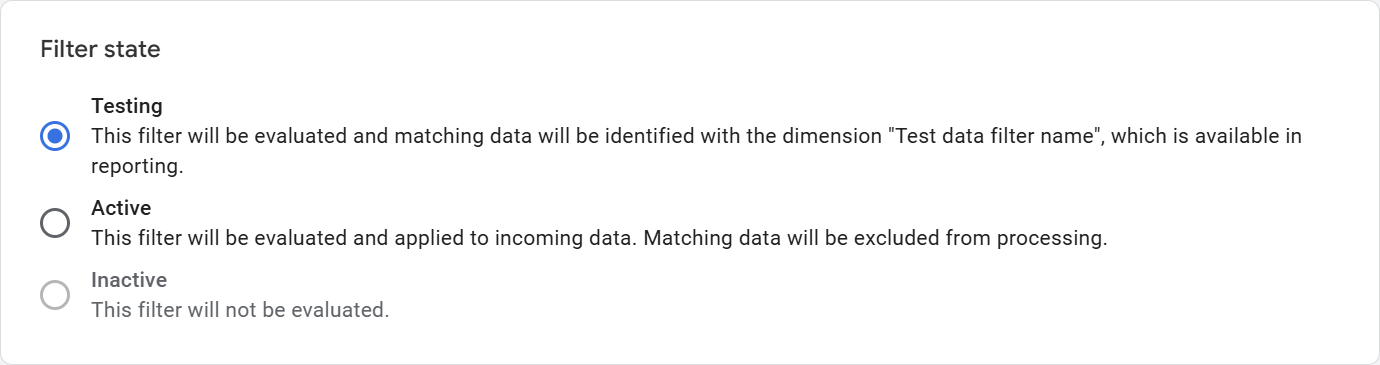
- Select Testing as your filter state until you are satisfied with the results and then return to change to Active
You should start with Testing to make sure you have configured everything correctly. Once you change to Active, the internal traffic will be excluded and cannot be recovered.
- Click Create (if adding a new filter) or Save (if changing an existing filter)
- Go to your website and click around on pages configured with Analytics
It may take 24-36 hours for the filter to take effect.
- Return to Analytics later and confirm the filter is working.
References
- [GA4] Filter out internal traffic – Analytics Help. “You can filter out website activity from an IP address or a range of IP addresses so the data generated by users at those IP addresses don’t appear in your reports. You can’t filter out internal traffic from app users.“
Leave a Reply