Redirection is an important tool to preserve your SEO ranking and visitor experience. It is most commonly used to send people to the correct page after a URL has changed, or a page has been deleted. If you don’t have redirection, the person or search engine will get a 404 (page not found) error.
WordPress does not have built-in support for automatically redirecting visitors after a URL has changed. You need to install a plugin that manages the redirection for you. Some SEO tools like Yoast have redirection support, but only in the paid premium version. Fortunately, there is a good plugin called Redirection by John Godley that allows you to manage redirection for free.
Instructions
- Install and activate the free Redirection plugin by John Godley
Redirection is a popular (and free) redirect manager for WordPress. It enables you to automatically send people to the correct page if they go to an old page that has been deleted or renamed.
- From the side menu, go to Tools > Redirection to finish the setup
You need to complete the initial setup after activating the plugin.
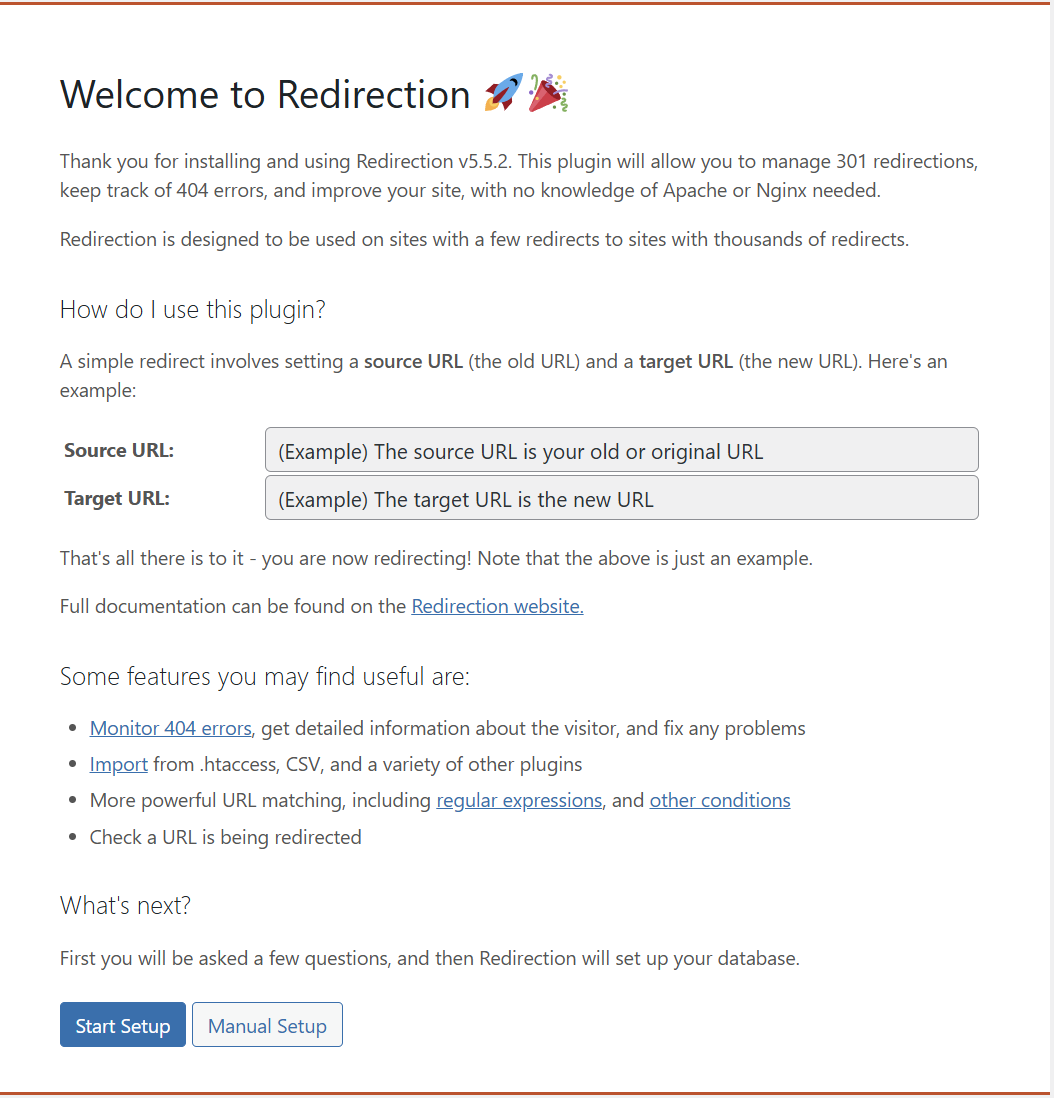
- Click Start Setup on the bottom to get to the Basic Setup screen
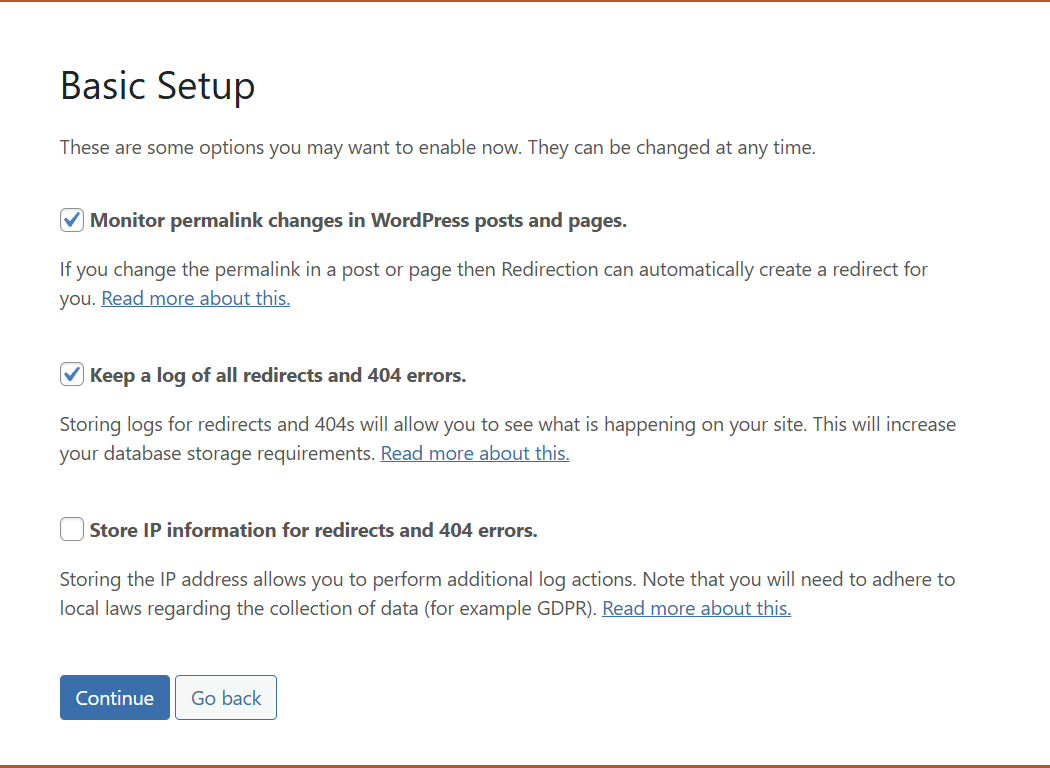
- Select whether to automatically create a redirect if you change the permalink of a page or post (recommended)
- Select whether to keep a log of all redirects and 404 errors (recommended)
This is useful so you can fix any issues that arise.
- Select whether to store IP information for redirects and 404 errors
If you select this option, the plugin will store the IP address of visitors who trigger a redirection or 404 error (page not found).
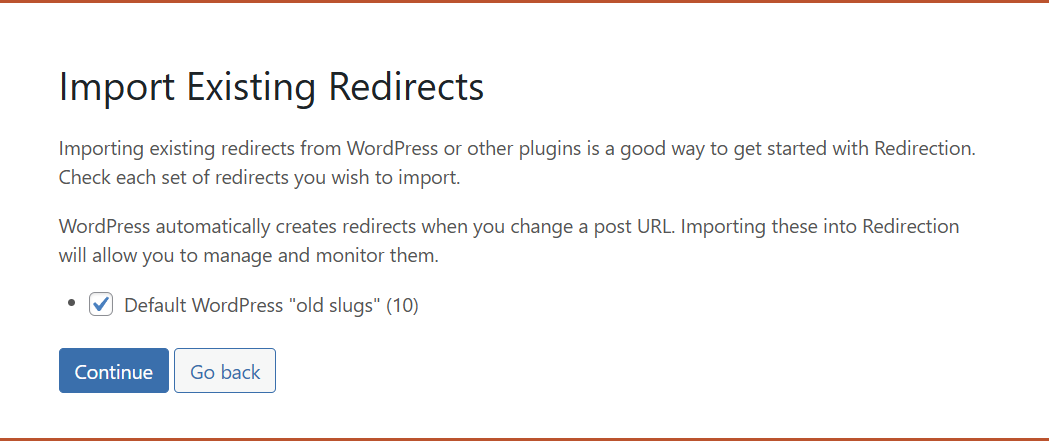
- Import existing redirections to you can manage them (optional)
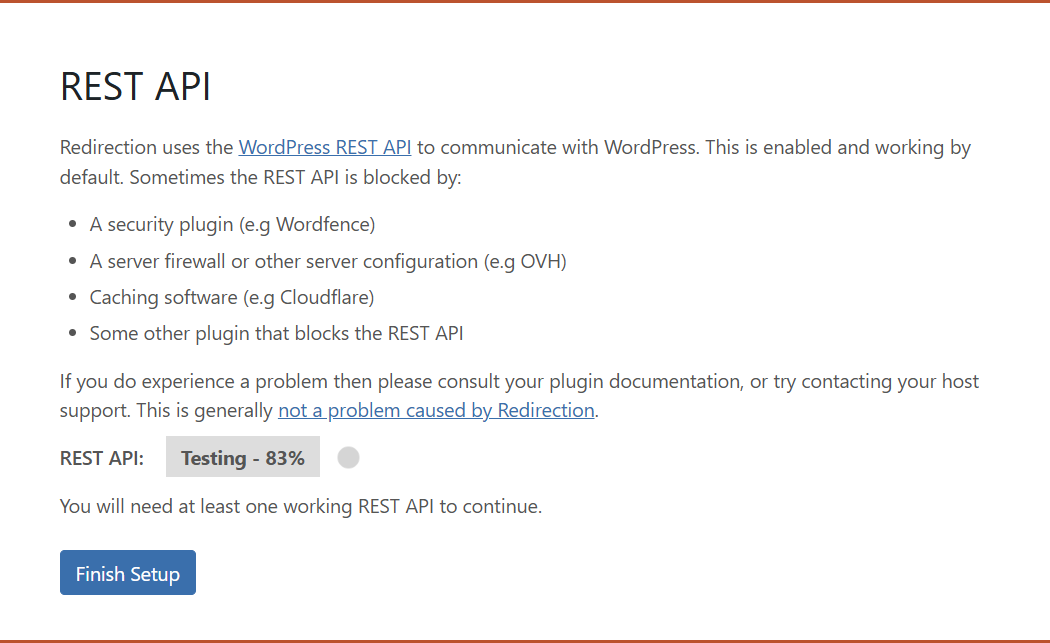
- Test your REST API, and then click Finish Setup
If you get a failure, try it again. Otherwise review any errors and resolve.
- Wait for setup to show Progress 100% and click Continue

- Click Continue to import redirects (if you selected this option)
- Click Ready to Begin

- Review options
You will land on the Options section after installation. Review options and make any changes.
- Click Redirects near the top of the page
- Review the imported redirects
If you imported any redirects during the setup process, review them now. Each line contains the source URL (the old URL you want to redirect from) and the target URL (the correct destination they should go to).
- Scroll down and look for the Add new redirection section
- Enter the source URL
This is the URL you want to redirect from, i.e., the old URL.
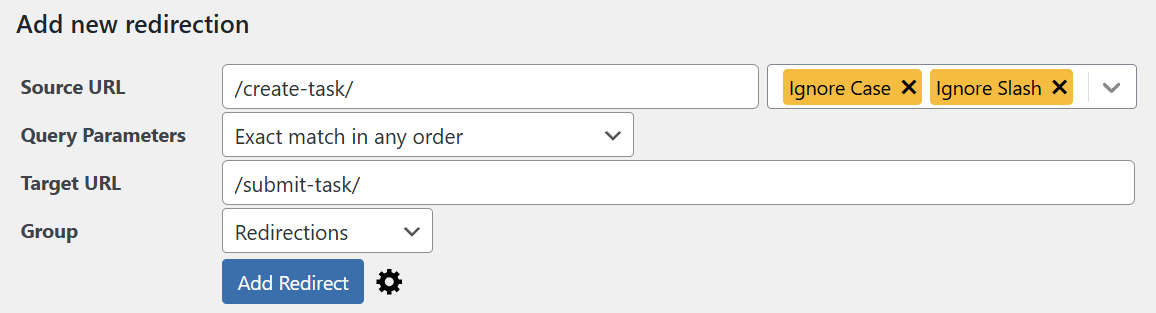
- Enter the target URL
This is the path to the new page they should be redirected to.
- Click Add Redirect
The new redirect will be added to the table.
- Hover your mouse over the new redirect and click Check Redirect
- Click Log on the menu near the top of the page
This will show you a log of all recent redirects, including the one you just tested.
Leave a Reply