Follow these instructions to install Git (including Git Bash) on your Windows 11 computer. The setup wizard has many steps, but the default options are suitable for most people, making the setup pretty easy.
⚠️ Always download Git from https://git-scm.com/downloads.
Installation Steps
These screenshots were made with Git 2.51.0. They are valid with 2.51.1 as well.
- Review license and click Next.
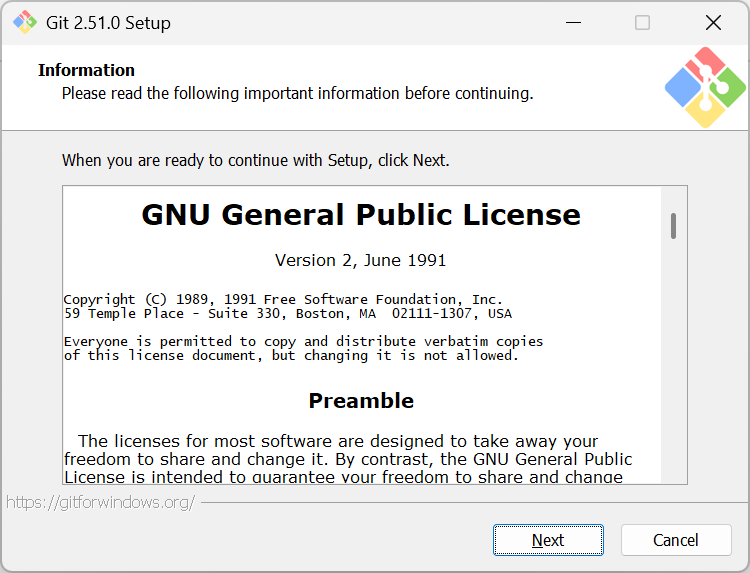
Git is published under GPL 2, which protects your freedom to copy, modify, and use the software, while protecting the publisher from liability. GPL was instrumental to the rise of Linux and Git, both of which were created by Linus Torvalds. The full version 2 license can be read at GNU General Public License v2.0 – GNU Project – Free Software Foundation. For a history of this license, refer to GNU General Public License – Wikipedia. - Stick with the default destination location and click Next.
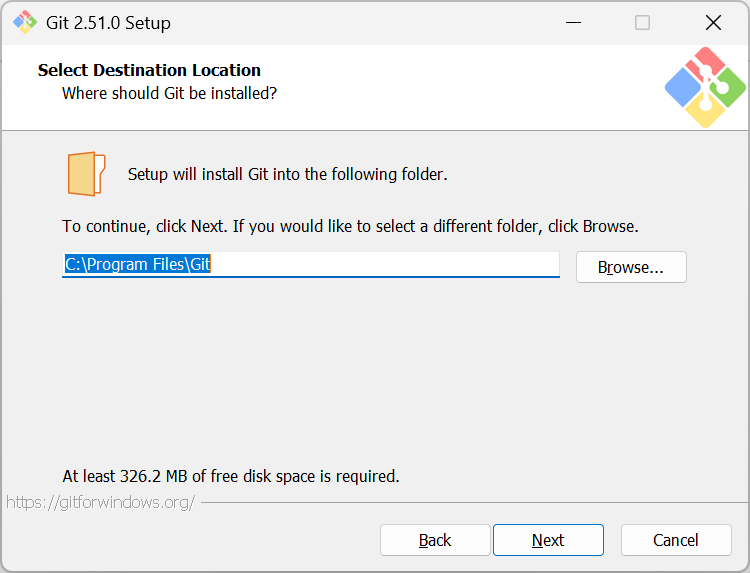
The default location is the standard folder for installing programs on Windows. You can select a different location if you don’t have access to Program Files, or you want to install Git in a portable or custom tools directory. Note that you need at least 362.2 MB of free disk space. - Stick with the default components and click Next.
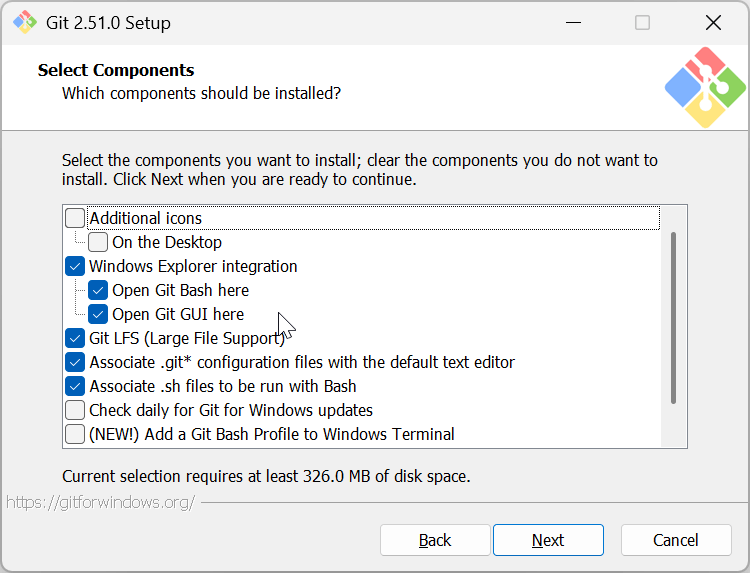
The default components are fine for most people. - Stick with the default the location of Git in the Start menu and click Next.
The default location is fine for most people. However, if you don’t want a link added to your Start menu, check Don’t create a Start Menu folder.

- Select an editor such as Visual Studio Code and click Next.
The default editor is Vim, but you should select a modern editor instead.

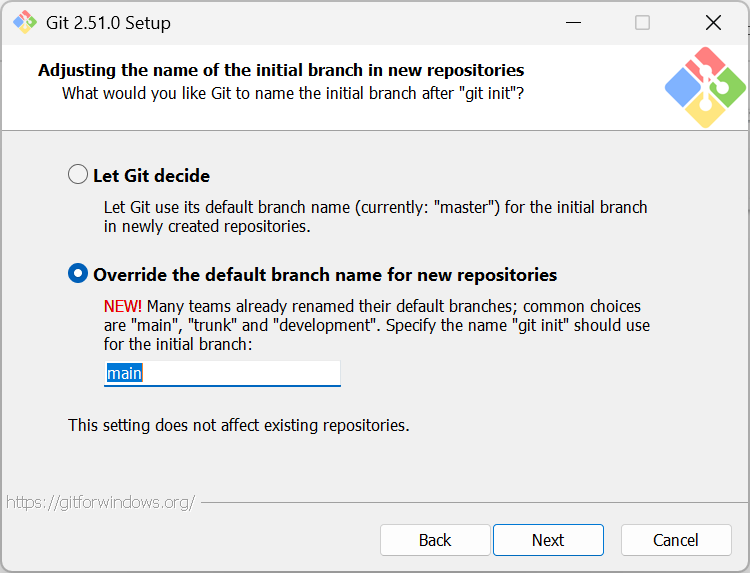
Note: if the text is grayed out when you select an option, then the editor has not been installed. Either cancel and install the editor first or select the default Vim editor and change it later. Refer to this Stack Overflow article for help changing the editor later. - Override the default branch name (recommend main) and click Next
By default, Git uses the name master for the initial branch of a new repository. The larger Git community has switched to main as the modern default, as it avoids the legacy term master. If you are working in a team or corporate environment, ask your team lead. Otherwise switch to main unless you have reasons to continue using master. Either way, you can change this later, see Change the default initial branch name in Git.
- Stick with the recommended path option and click Next
The recommended option is fine for most people.
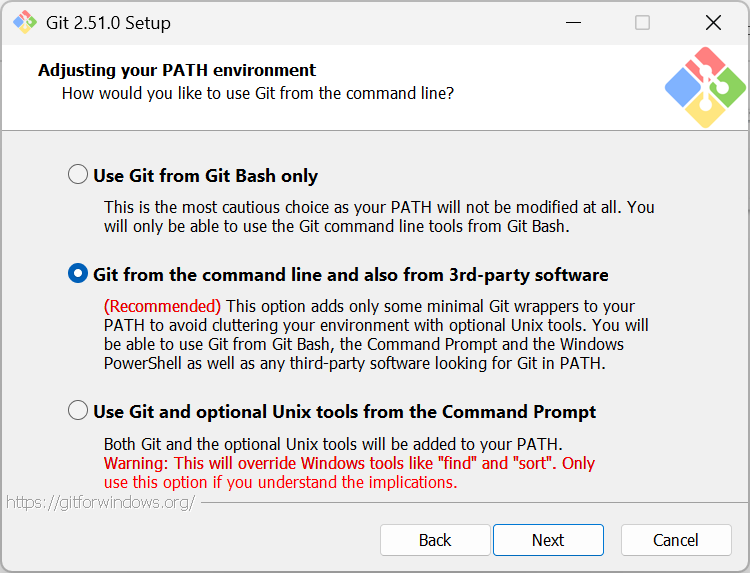
This step determines how Git will update with your PATH. The default option adds the Git folder to your PATH, enabling you to run git.exe easily. The default option does not have Unix tools to the PATH.
Your PATH on Windows is the list of folders containing programs you can execute from the command-line. When you run a command, Windows checks each folder listed in the path for a matching command name. This allows you to type a command name without knowing its exact location (as long as its location is listed in the PATH).
If you select the first option, the Git installer will not change your path at all. For most people, this is not enough. Alternately, you can add Git and a slew of extra tools into your path. For most people, this is too much. - Stick with the default SSH executable and click Next
Most people should use the bundled OpenSSH with Git.

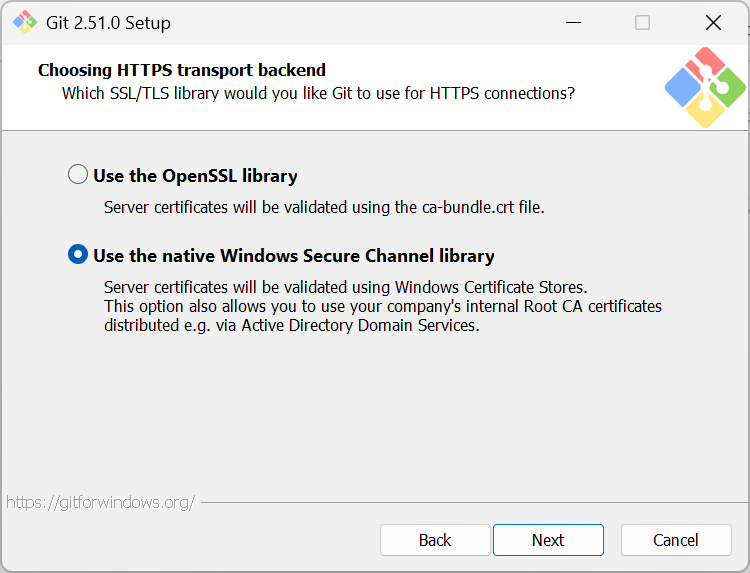
SSH (Secure Shell) allows you to remotely execute commands on a server. The Git setup program bundles a copy of SSH for you (called OpenSSH). However, if you have already an SSH app installed, and you want to make Git use that instead, you can select the Use external OpenSSH. Git will assume ssh.exe is located in the path, and the setup program will not install OpenSSH. - Stick with the default HTTPS transport backend and click Next
On Windows, most people should stick with the default option to Use the native Windows Secure Channel library. This tells Git to use the native library on Windows, which is often required in corporate environments. You can select OpenSSL if you need more control over the process.
- Stick with the default line ending conversion, and click Next
Most people should stick with the default option to checkout files Windows style and commit files Unix style.
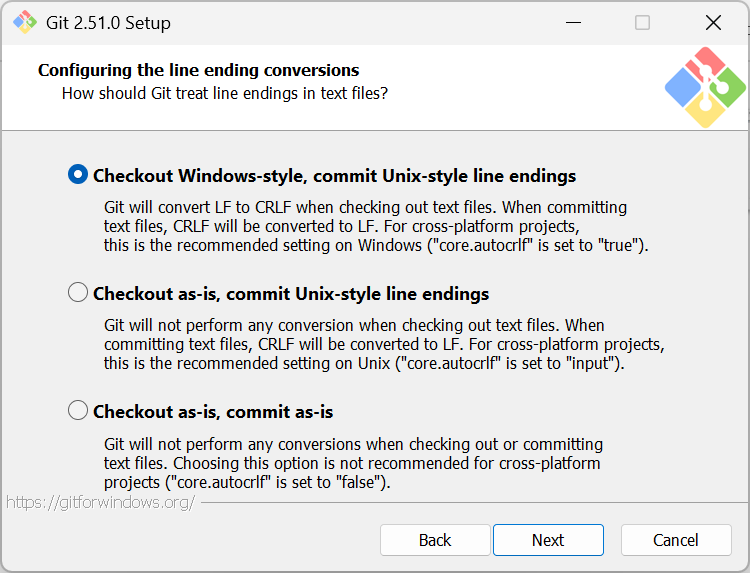
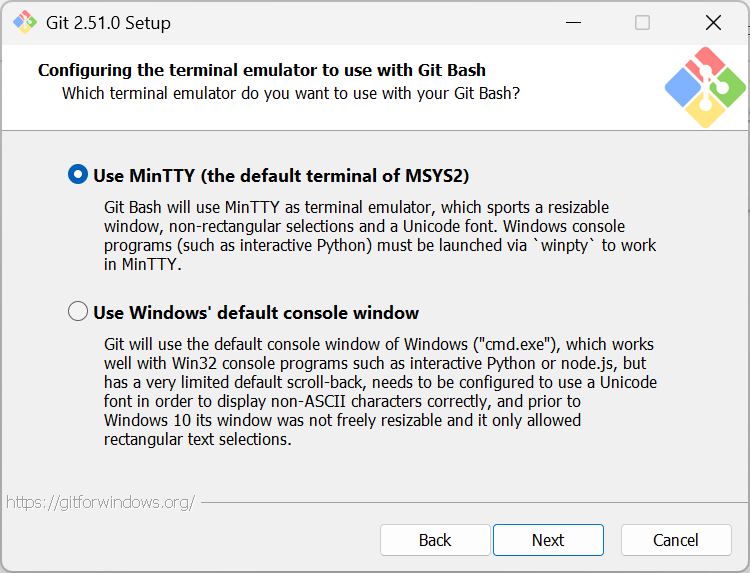
When you select the default, Git will automatically convert text files to Windows format (CRLF) when getting text files from the repository. It will convert the text files back to Unix format (LF) when committing back into the repository. - Stick with the default terminal emulator (MinTTY) and click Next
Stick with the default MinTTY unless you know you’ll be using Git Bash to run interactive Windows console programs often.
- Stick with the default git pull behavior and click Next
This step is asking you to select the default behavior of the
git pullcommand. Most people should stick with the default Fast-forward or merge, as it tends to have the most intuitive behavior.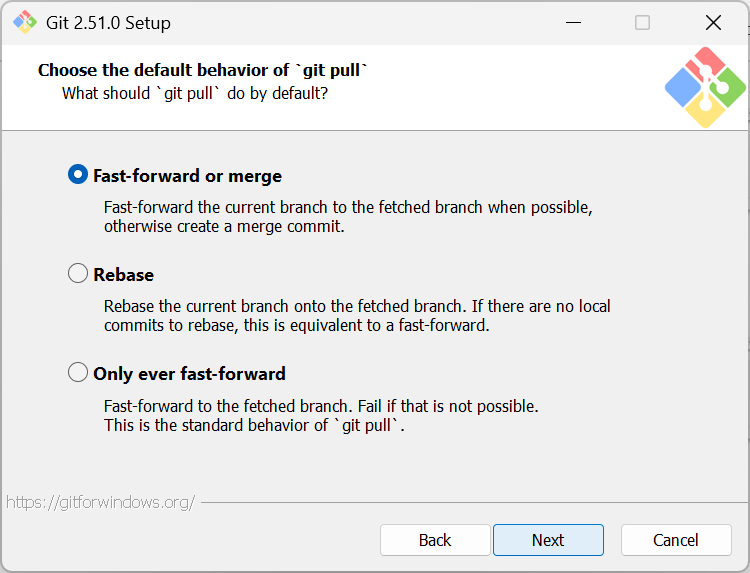
In Git, a fast-forward happens when the branch you’re pulling into has no new commits compared to the branch you’re pulling from. In this case, Git can simply move the branch pointer forward to match the remote, no merge commit is needed.
Fast-forward or merge (default): When you run git pull, Git first fetches the latest changes from the remote branch. If your local branch has no new commits, Git can simply move your branch pointer forward—this is called a fast-forward. If your local branch does have new commits, Git will perform a merge, combining your changes with the remote ones and creating a merge commit. This option preserves all history including when an how branches were merged.
Rebase: Instead of merging, Git will reapply your local commits on top of the latest remote commits. This rewrites history to make it look like your changes were made after the remote ones, resulting in a linear commit history. This option keeps history clean and linear, and may be easier to read and understand. However, rebasing rewrites history, so it should be used carefully.
Only ever fast-forward: Git will only update your branch if a fast-forward is possible. If your local branch has diverged (i.e., has commits not on the remote), git pull will fail. This is the strictest option, and it prevents automatic merges or rebases. It forces developers to manually resolve conflicts before integrating. - Stick with the default Git Credential Manager and click Next
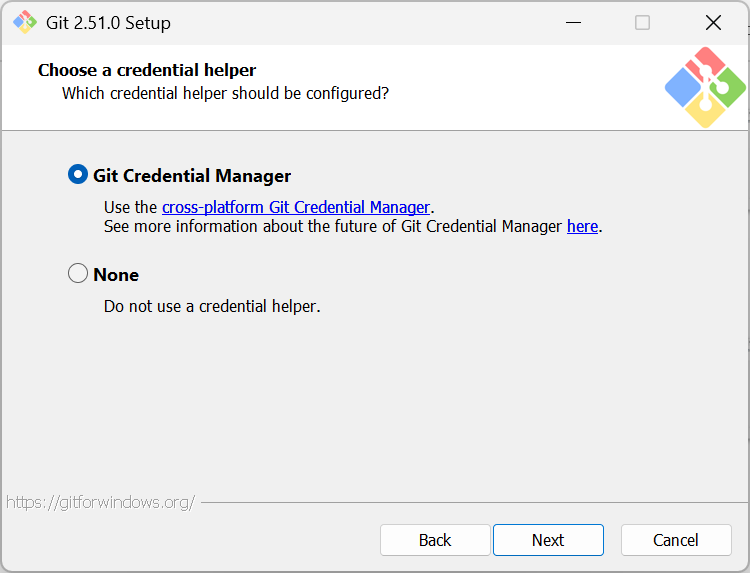
A credential helper stores and retrieves your credentials such as usernames, passwords, and tokens. The recommended option is to use Git Credential Manager. Alternately you can select None, in which case Git will not store credentials and will re-prompt you every time you push or pull from a remote repository that requires credentials. - Stick with the default extra options and click Install
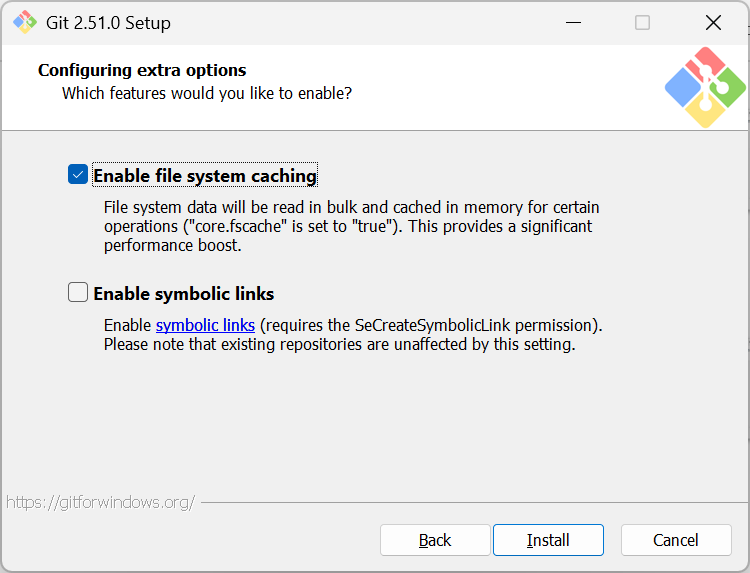
Enable file system caching (recommended): This option speeds up Git operations by keeping file data in memory. In rare cases you might disable file caching, e.g., you need real time file changes or low memory, etc.
Enable symbolic links: This option lets Git create and manage symbolic links. Enable this option only you work with repositories that use symbolic links. - Click Finish after the files are installed
You can view release notes from the installer. To view release notes later, open the Start menu and navigate to the Git folder. The release notes are under the Git folder.
Leave a Reply