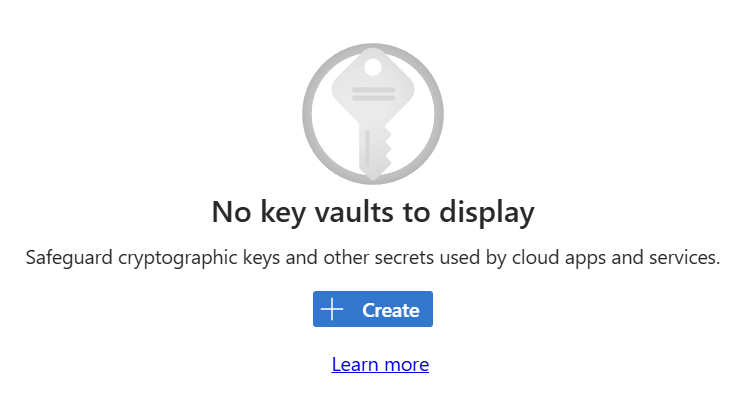
An Azure Key Vault is used manage secrets such as API keys, passwords, and other sensitive information. An Azure subscription is required, but anyone can sign up for a free subscription to create a key vault.
Instructions
- Sign into the Azure portal
– Go to https://portal.azure.com.
– Sign in with your Azure account.
– If you don’t have an account yet, sign up for free. - Open the Key Vault Service
– In the top search bar, type “Key Vault”.
– Click on Key Vaults from the search results.
– Click + Create to start a new Key Vault.
- Select your subscription that owns the key vault
You can move the vault to a different subscription later, if necessary.
- Specify or create a resource group
A resource group is container, similar to a folder, for organizing Azure resources such as key vaults and virtual machines. You can put all resources into the same resource group, or you can organize them for other purposes such as per-department. When creating your key vault, you must select an existing one or create a new one. You can move the key vault to a different resource group later.
- Specify the name of the key vault
The name must consist of letters, numbers, and dashes. It cannot start with a number. Use a name that will be descriptive for the people using it, e.g., “plugin-keys”. The vault name cannot be changed later.
- Specify the region where the key vault is stored (typically close to you)
Generally, you should select the region closest to you or the services that will be using the resource. The region cannot be changed later (i.e., moved), so you will need to create a new one if you want to relocate the key vault.
- Specify the pricing tier (typically Standard)
Stick with Standard unless you have a specific need for Premium. The Standard tier is free for basic use. You pay only if you exceed the free limits, which is unlikely for individuals and small teams.
- Specify the days to retain deleted vaults (typically 90)
The retention period is the number of days the vault sticks around after it has been deleted. During the retention period, the vault can be restored or purged (unless you block purging, see next step). You can select between 7 and 90 days, which cannot be changed later.
- Specify whether to enable purge protection (typically disabled)
If you wish, you can prevent the permanent deletion of the key vault during its retention period. This prevents anyone including Microsoft from purging the key vault until the retention period has elapsed.
- Click Review + create to review your selections
Or click Next if you want to review advanced settings like network access. Most users do not need the advanced settings
- Wait for the Create button to enable
It may take a while for Azure to validate your settings and enable the Create button.
- Click the Create button to create the Azure key vault
It may take a while for Azure to create your Azure key vault. When you see “Your deployment is complete” you can start using the vault.
- Click the Go to resource button
Reference
- Key Vault | Microsoft Azure – the non-technical product page to get you started
- Azure Key Vault documentation | Microsoft Learn – Links to Azure Key Vault documentation.

Leave a Reply