Why
- You are attempting to edit JavaScript on a managed WordPress website on GoDaddy, and you receive an error message of “An attempted XSS (Cross site scripting) was detected and blocked.”
Background (optional)
XSS (cross-site scripting) is an attack where a hacker tricks a website into running harmful code in the browser. For example, a hacker may inject a script that asks a visitor for their password. Often the script is posted to the site through an online form that takes text input (such as a blog comment) and then displays that text back to visitors without sanitization. If the text contains a script, it may get executed by visitors to the page.
GoDaddy attempts to automatically detect and block XSS attacks. If GoDaddy thinks a hacker is trying to post a script to your website, it will block the request. This is usually desired, but it can also block legitimate script updates from you. For example, if you manually update the header in a WordPress template using the online template editor, you may find that GoDaddy blocks your updates.
In order to make legitimate changes to the website, you can add your IP address to the Allow List on GoDaddy. The Allow List is a list of computer addresses that are allowed to bypass the automatic XSS blocking.
An IP address (Internet Protocol address) is like a postal address on the Internet. It specifies where computers should send data when communicating. This website has an IP address and so does your computer.
When you add your IP address to the GoDaddy Allow List, you are telling GoDaddy that your computer IP address is permitted to bypass the anti-XSS firewall protection.
Step-by-step instructions
- Go to your GoDaddy products page at https://account.godaddy.com/products.
To get to the page manually, sign into GoDaddy and click your name in the upper-right corner of the page. Select My Products from the menu.
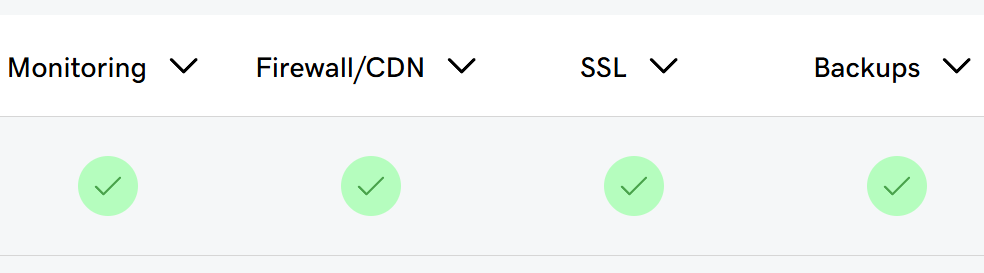
- Scroll down to Website Security and Backups, and then click Manage All.

- Click the green checkbox in the Firewall/CDN column.
- Click Settings.

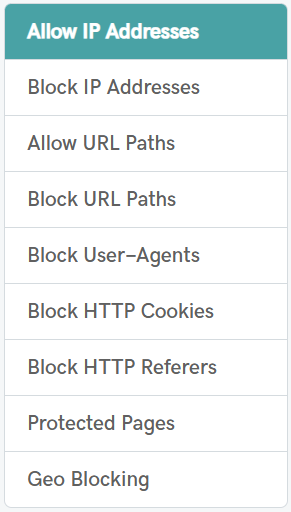
- Click Access Control on the submenu.

- Click Allow IP Addresses if not already selected.
- Enter your IP address.
If your current computer is not already in the Allow List, then GoDaddy will show a link to add it directly (so you don’t have to look up your public IP address). Otherwise add the IP address to add to the Allow List.

- Change the length of time to add the IP address (if you don’t want it added permanently).
By default, the IP address will be permanently added to the Allow List. You can set a timeout if you don’t want it permanently added (useful when granting temporary permission to a contractor).
- Click the Allow button.
- Click Insert Note and add a note so you remember what this IP address represents.
After allowing the IP address, you should click Insert Note next to your address, and add a note to help you remember the purpose of the address, e.g., “My Laptop”, “Seattle Office”, etc.
- Remember this process because you will likely do it again when your IP address changes due to reasons beyond your control.
Your IP address can change for many reasons: your router assigns a new address to you, or you reset your internet connection and get a new address, or you move to a different physical location, etc.
Leave a Reply