To upgrade the PHP version used by WordPress and other apps on a GoDaddy VPS server, you first need to use WHM to the desired PHP package.
Instructions
- Backup your VPS server
- Launch WHM for your server
- Locate and click EasyApache 4 on the left side menu
- Click Customize under the Currently Installed Packages panel

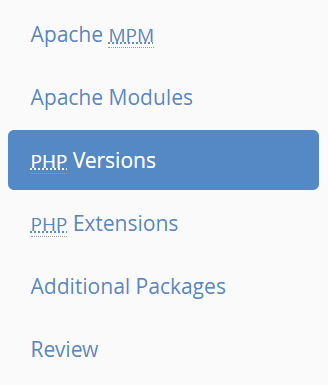
- Click PHP Versions from the side menu
- Look for your preferred PHP version and check whether it has been installed. The checkbox will be blue and pointing to the right if installed.
In this example, PHP 8.1 and 8.2 are installed, while 8.3 is not installed.
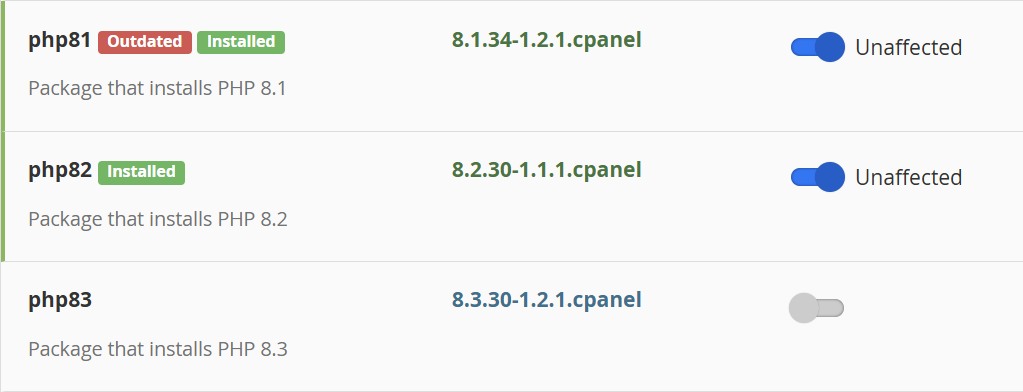
- If your preferred PHP version is not installed, toggle the checkbox
- Review and change dependencies (optional)
After toggling the button, you will be notified of any dependences that will be installed with your PHP version. You can change these dependencies later. However, if you wish to change them now, click the Edit button and decide which dependences to include with the installation.
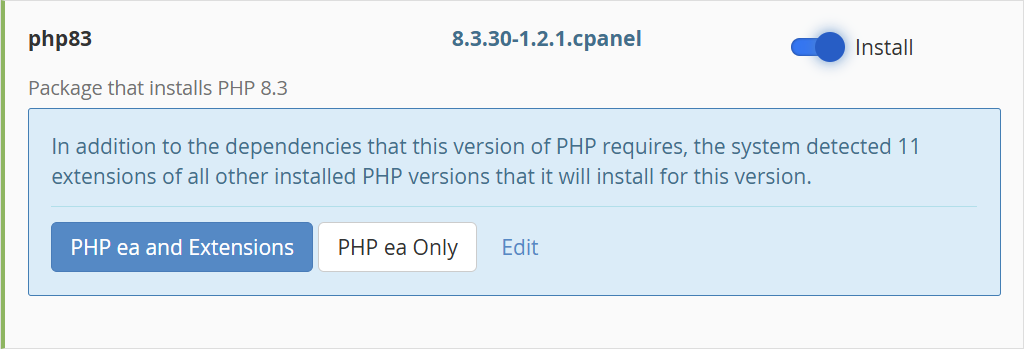
- Click PHP ea and Extensions to install the PHP and its dependencies
Note: The “ea” stands for EasyApache
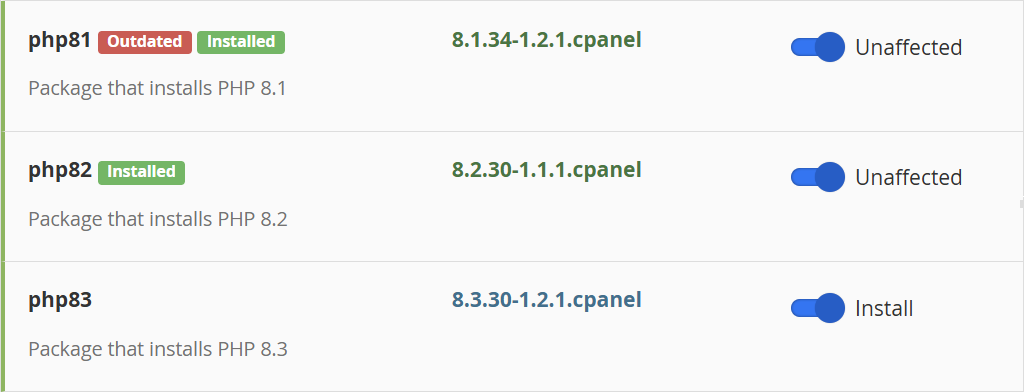
- Review the packages to be installed
After you click PHP ea and Extensions, the installation does not start right away. You will see a label Install next to the checkbox. If you wish, you can select other packages to install before continuing, and they will be listed in the same manner. Otherwise continue.
- Click the Next button to review extensions
You can make any changes if you wish.
- Click Next again to view the final review page
- Review the list of packages to install
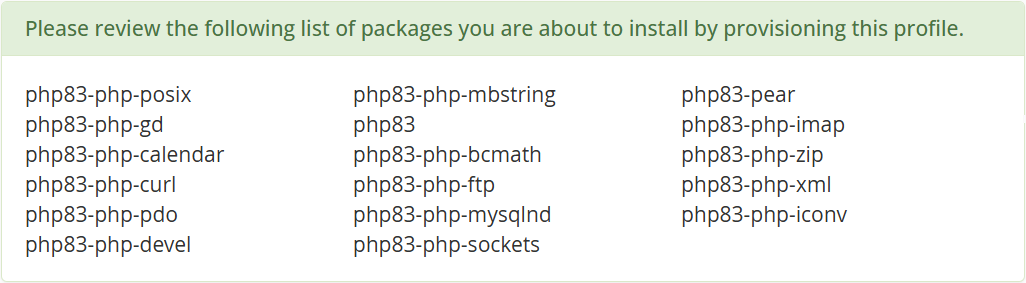
- Click Provision on the bottom of the page
- Wait for the provisioning process to complete with a green notice
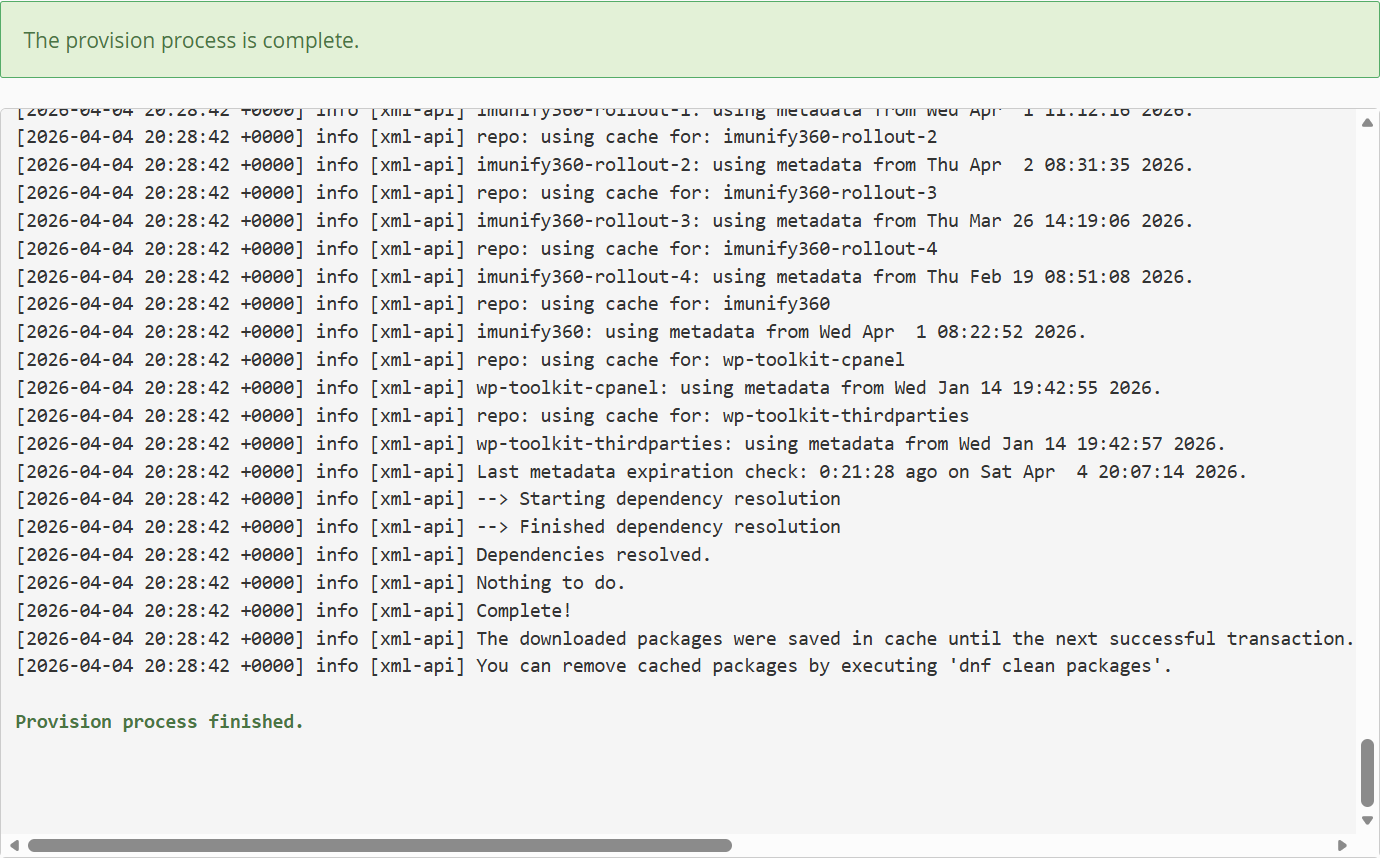
- Click Done on the bottom of the page
Leave a Reply