FluentSMTP is a free and open-source mail plugin for WordPress. It configures WordPress to send emails through an external mail service such as Microsoft 365 or Gmail. WordPress does have the ability to send emails directly, but an external service tends to have greater reliability and capacity.
FluentSMTP can connect to many different email services; this guide is specific to the Microsoft 365 connector. One advantage of Microsoft 365 (using Exchange) is that many businesses are already using the service. You don’t have to obtain a separate email service. However, Microsoft 365 is not suitable for bulk emailing.
⚠️Do not use Microsoft 365 for bulk email
You will get throttled and possibly banned if you send high-volume bulk email through your Microsoft 365 account. Microsoft 365 is intended for corporate mail flow. It is not intended for transactional or marketing emails. You should be OK with a limited number of automated emails, such as a contact form that sends an email to you.
General steps
There are three parts to installation:
- Install and activate the FluentSMTP WordPress plugin.
- Create an app registration in Azure so FluentSMTP can connect to your account.
- Configure FluentSMTP with your app registration.
Instructions
- Sign into your WordPress site with an admin account
You need an account that can install and configure plugins.
- Install and activate the FluentSMTP plugin
FluentSMTP is a free and open-source WordPress Plugin. It will connect to your Microsoft 365 / Office 365 account for sending emails from WordPress.
- Go to Settings > FluentSMTP from the side menu
- If you have never added a connection, click Microsoft in the list of available connections. Otherwise click + Add New Connection to add another connection.
- Specify the From Email address
In a later step, you will authenticate into your Microsoft 365 environment with a user account. That user account must have access to the From Email inbox. You can specify a shared mailbox as long as the authenticated user account has permission to Send As or Send On Behalf the shared mailbox.
- Keep the page open, and open a new browser tab
You need to complete some steps on Azure. Keep WordPress open and start a new browser tab for the Azure steps.
- Sign into the Azure portal with an admin account
You will need an Azure account. The free subscription is fine if you don’t have one already.
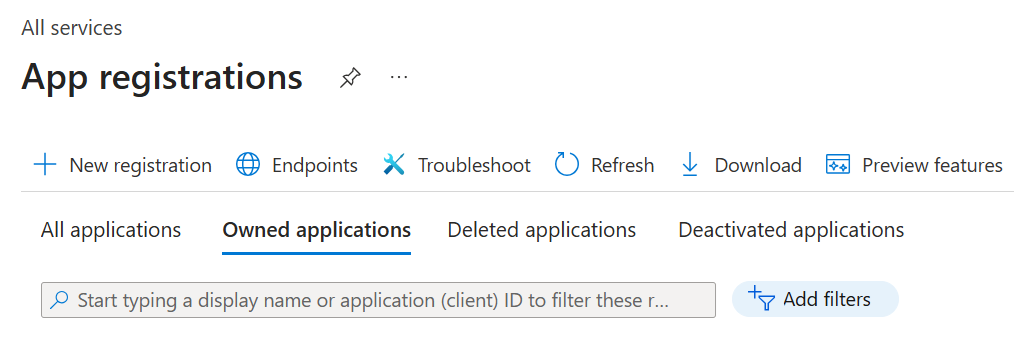
- Search for and go to App registrations from the top search bar
- Click + New registration
- Set the title, e.g., “FluentSMTP Email Sender”
You can change the name later.
- Select multi-tenant
You must select multi-tenant because FluentSMTP does not support single tenant (you will get error code AADSTS50194 when attempting to generate an access token later). Note that you cannot change your selection. If you want to change this setting, you will need to register a new application and reconfigure FluentSMTP.
- Set the platform to Web
- Set the redirect URL to the App Callback URL value shown on the FluentSMTP settings page (on the WordPress browser tab)
Switch browser tabs and copy the App Callback URL shown on the settings page. Paste this into the Redirect URL setting on the app registration page.
- Click Register to create your app registration
After a moment your app registration details will be shown.
- Copy Application (client) ID to the FluentSMTP setting
Look for Application (client ID) and copy the value. Switch to the FluentSMTP settings page in WordPress and paste the value into the Application Client ID text box.
- Go back to your app registration tab on Azure
- On the left menu, expand Manage and select Certificates & Secrets.
- Click New client secret.
- Set a description, e.g., “FluentSMTP Secret”.
- Set an expiration date, e.g., 180 days
For security purposes the secret must have an expiration date.
- Click Authenticate with Office365 & Get Access Token.
A new page will open and you will see an authentication token. Copy it. If you see an error or an empty text box, you need to investigate the error. There should be an error code somewhere in the query string (address bar) in the format “AADSTxxxxx” where xxxxx is five digits. For example, “AADSTS50194”. Look up this error code with an AI or search engine and resolve the issue.
- Sign in and click Accept to approve the permissions request
You will notice that FluentSMTP is connecting to the app you registered. You will see unverified on the dialog box. Click it to view details, but this is expected because you did not verify your app registration.
- Copy all of the text in the Your Access Code text box.
Once you close the tab, you will not be able to see it again.
- Go back to the FluentSMTP settings and paste into the Access Token text box.
- Click Save Connection Settings on the bottom of the FluentSMTP settings page.
Leave a Reply