
One you have established an Azure Key Vault to store your secrets (such as a shared password or API key), you need to grant access to the vault so the users can fetch the secret as needed. Under the Azure RBAC model (role-based access control), you assign a role to a person who needs access. The role defines the permissions granted to the person.
Prerequisites
These instructions assume you have already created a key vault and now you need to grant someone access to the vault. If you still need to create the vault, see How to create an Azure Key Vault.
“You are unauthorized to view these contents.”
You may be surprised to see the warning “You are not authorized to view these contents” when looking at the key vault you created moments earlier. This is by design and a good thing. Access to sensitive data must be explicitly granted including to yourself. Follow the instructions below.
Instructions
1. Go to your key vault on the Azure Portal
- Go to https://portal.azure.com/ and sign in
- From the search box on top of the page:
- Search for your vault by name, or
- Search for “key vaults” to get to all key vaults and navigate to your vault
2. Add a roll assignment
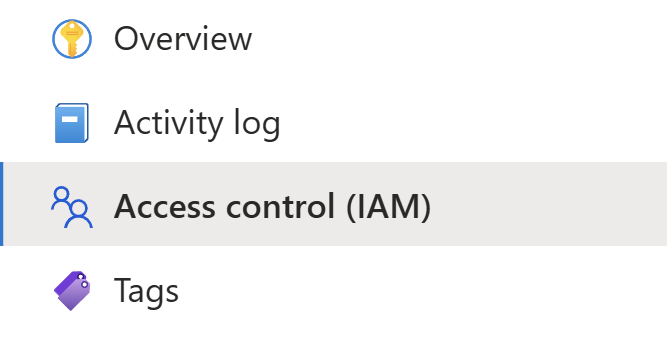
To add a role to a key vault, go the Access Control (IAM) page.
On the left menu, click Access Control (IAM):
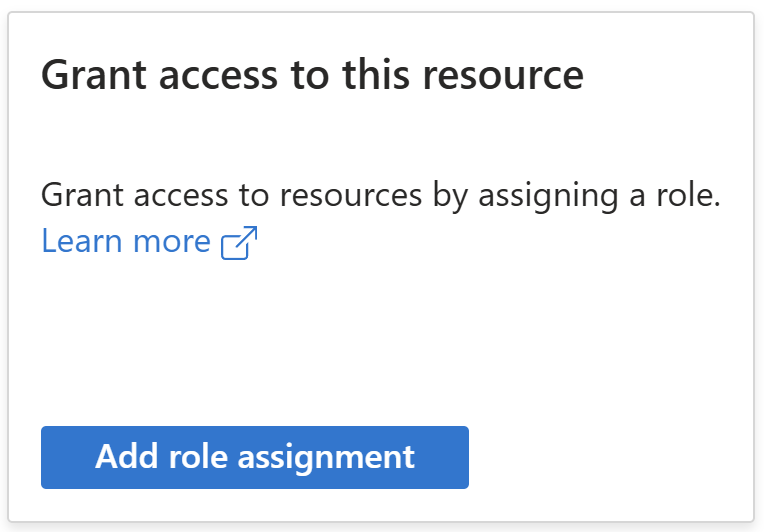
Then click Add role assignment.
3. Select the role to assign
On the Add Role Assignment page, there are nearly 500 roles to select from. Narrow down the list by typing “key vault” in the search box. This will filter the list of roles to those containing “key vault” in the name.
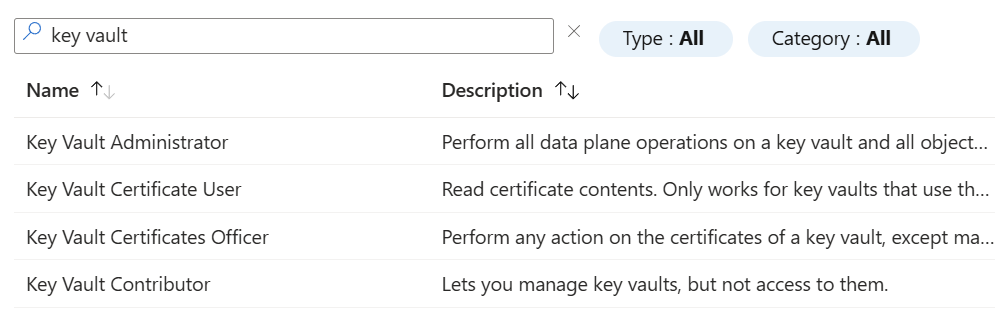
The correct role depends on your scenario. If you are controlling access to secrets (such as shared passwords), two useful roles are:
- Key Vault Secrets User – has read-only access to secrets
- Key Vault Secrets Officer – can create secrets for others to read
Select the role you want to assign and click Next.
4. Select the user(s) to be assigned the role
The next step is to select the users who should receive the role. You can also select groups, service principals, or managed identities. This guide assumes a user.
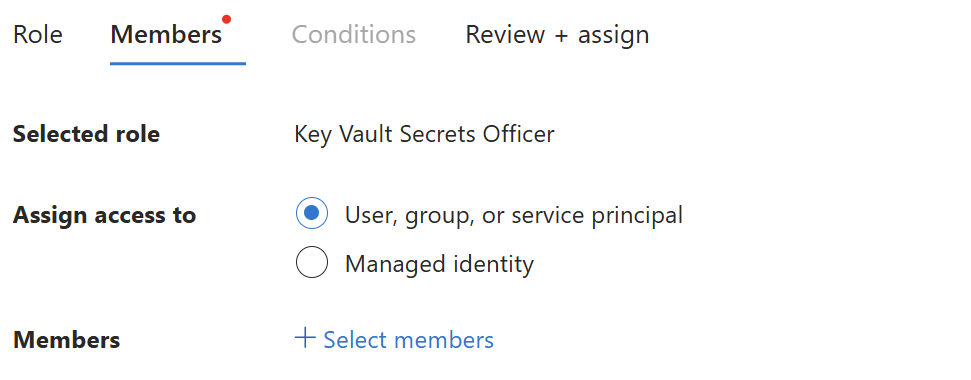
Click + Select members to select the user accounts to receive the role. A panel will appear where you can select users and groups. Select the user(s) and click Select to return to the page.
5. Optionally write a description
On the same page you select users, you can also write an optional description. This description is stored as part of the role assignment metadata.
To view the description later, you can:
- Go to the key vault
- Open Access control (IAM)
- Click the Role assignments tab
- Click the Edit columns button and add the Description column
When visited with your description, click Review + assign.
5. Review + assign
The last screen of the assignment process provides an overview of the changes you are making. You can go back if you forgot to add someone, or selected the wrong role, etc. Otherwise click Review + assign to complete the process.
Next steps
To add a secret to your newly created vault, see How to store a secret in Azure Key Vault for your team to retrieve securely.
Reference
- Azure Key Vault documentation | Microsoft Learn – top-level page of the Microsoft Azure Key Vault documentation.
- Grant permission to applications to access an Azure key vault using Azure RBAC | Microsoft Learn – Documentation on using the RBAC model (role-based access control) to manage permissions to a key vault. Includes a description of the built-in roles.

 You are free to share and adapt this content for any purpose as long as you give appropriate credit in a reasonable manner.
Leave a Reply